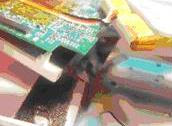
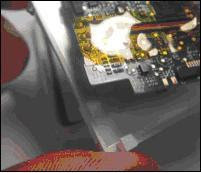
1.first turned off your iPod and insert one nylon tools(as shown in the |  |
| 2. Remove the back plate and set aside |  |
| 3. Now keep the battery aside, DO NOT cut the wires of battery |  |
| 4. Unscrew the 3 small screws (2 with fine thread and 1 with coarse thread) these screw are fixed on the main circuit board. To remove one of the screws, you may need to peel back a bit of protective tape |  |
| 5. Lift up the end of the main board about 1/4 inch |  |
| 6. Insert a small flat-head screwdriver pull/ pry up the front of the board with care. The LCD screen is held with adhesive on the back side of the board(see the photo) and it will pull away. Be careful do not scratch the inside of the LCD screen. |  |
| 7. There are 2 clips on the LCD screen which attach the bottom of the LCD screen to the main board. Unlock the clips away from the main board. |  |
| 8.Now Slide the LCD screen towards the top of the iPod. |  |
| 9. carefully keep all the open ipod parts together! |  |
| 10. Lift up upper body plate as shown. |  |
Continue step 11 for how to ipod lcd replacement instructions |
Wednesday, January 26, 2011
ipod lcd repair screen and changing
do it your self ipod lcd repair and screen replacement instuctions. here is steps for ipod nano screen repair ( back plate lcd) but this steps is common for other types like 5th generation or 5th gen.
Insuction for how to replace ipod lcd screen. Steps for ipod lcd replacement are common for almost all type of ipod ie 5th generation or ipod nano(back plate lcd).This step by step guide will walk you through a simple procedure to replace your iPod Nano 1G screen. The LCD (screen) or liquid crystal diode screen needs to be replaced for any number of reasons, the most common, a cracked lcd screen, blinking screen, dark or dead iPod screen. The good news about this particular type of broken iPod is it is a relatively simple and inexpensive matter to do this screen repairFirst read the steps carefully and when you understand everything then only try this it is vary easy to repair lcd screen.
Subscribe to:
Post Comments (Atom)
No comments:
Post a Comment